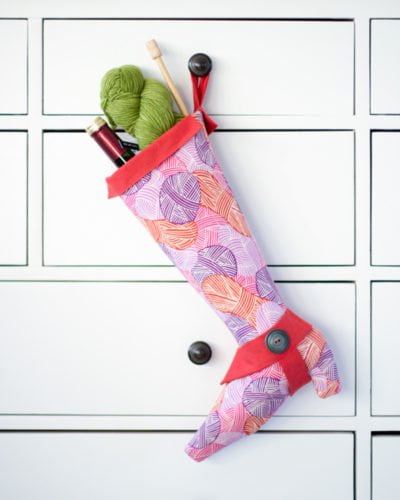
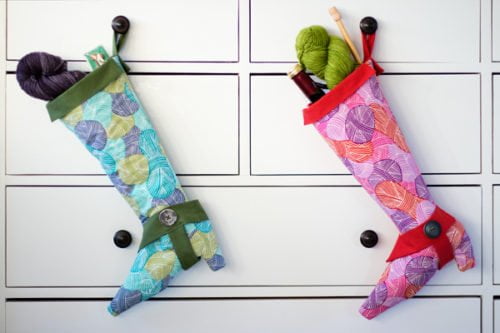
Cutting Directions:
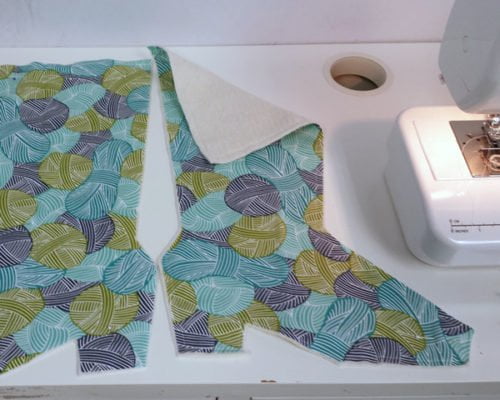
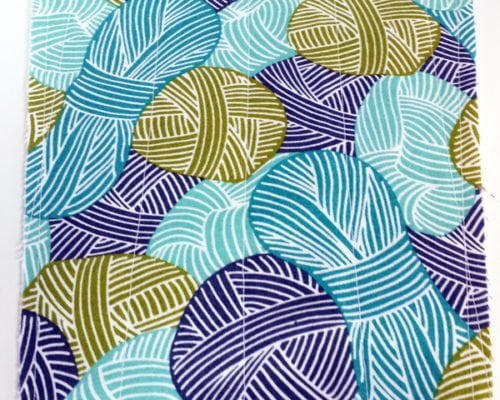
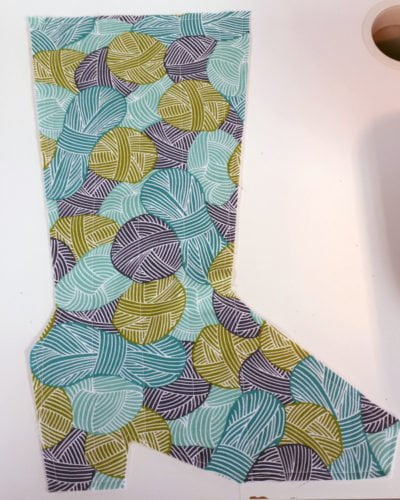
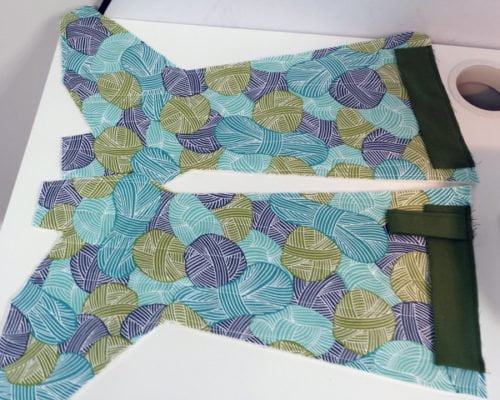
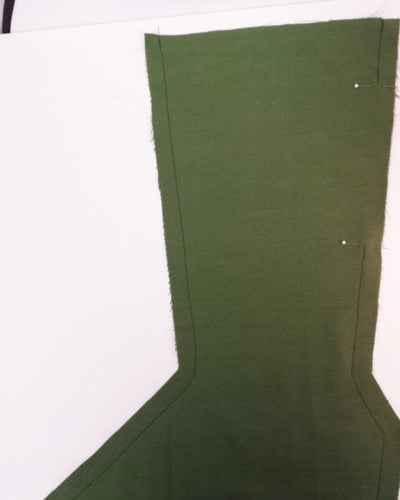
Boot: Cut 2 Outer Fabric (Print)
Boot: Cut 2 Lining Fabric (Solid)
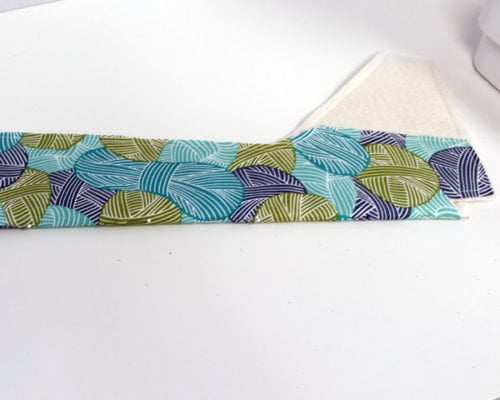
Cuff: Cut 4 on the Fold of Lining (Solid)
Harness Ankle Piece: Cut 2 on the Fold of Lining (Solid)
Harness Arch Piece: Cut 2 of Lining (Solid)
Hanging Loop: Cut 1 rectangle 4 1/2″ x 6 1/2″ of Lining (Solid)
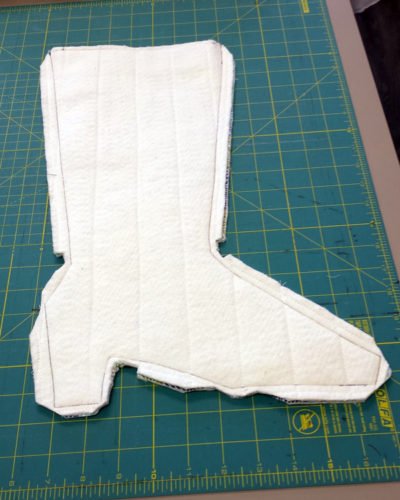
Batting: Cut 2 of Main Boot
Use 1/2″ seam allowance on boot. Use 1/4″ seam allowance on cuff and harness pieces.
Instructions:
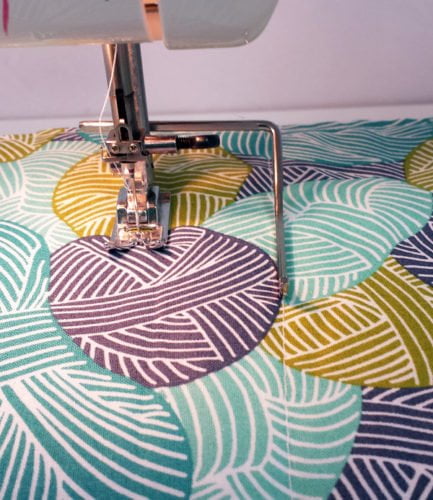
1. Pin batting to the wrong side of each of the boot outer fabric. Baste together with 1/4 ” seam allowance. Trim away any excess batting around the edges.
2. Top stitch quilting rows from top of boot to bottom (vertically) To determine even rows, fold the boot in half and mark center row with pins. Stitch this row.
3. The rows will be 1 1/2″ apart. If you have a width gauge on the machine foot, you can use that or, mark with pins. Repeat for other side of boot.
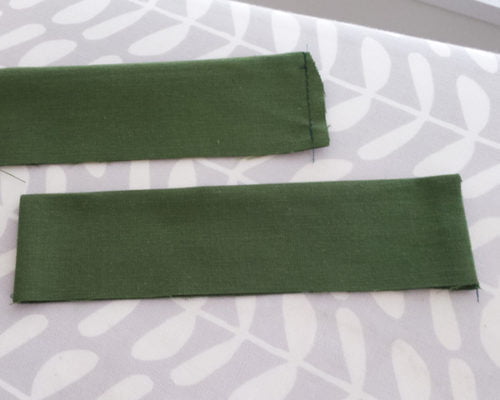
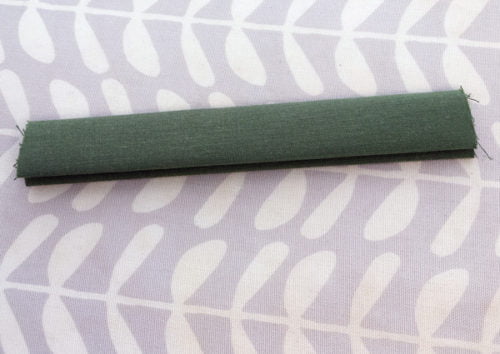
4. Cuffs: Fold right sides together, length wise. Sew both short ends closed. Clip corners, turn to right side and press.
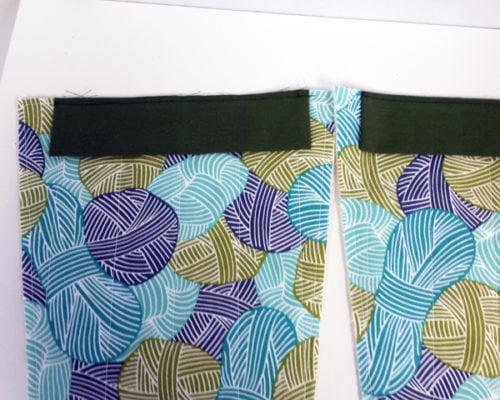
5. Place raw edge of cuff on the right side of the top of the boot, matching the center of the cuff to the center row of quilting stitch. Stitch in place with 1/8″ seam allowance.
6. Hanging Loop: Press in half, wrong sides together, along 6 1/2 ” length. Press each side into center. Fold that in half & press. This should measure 1″ x 6 1/2″ Top stitch along the long length of the loop, closing the folds
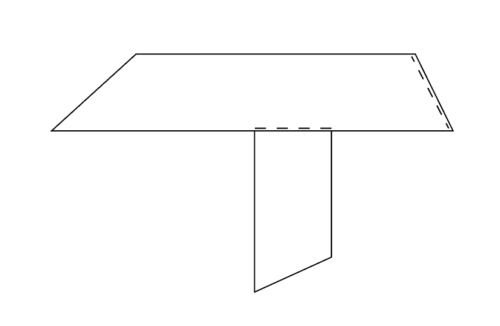
7. Fold tab loop in half (matching raw edges together) Place raw edge of loop along the raw edge of the cuff. This will be the back so it should be to the left side, toward the back of the boot, above the heel.
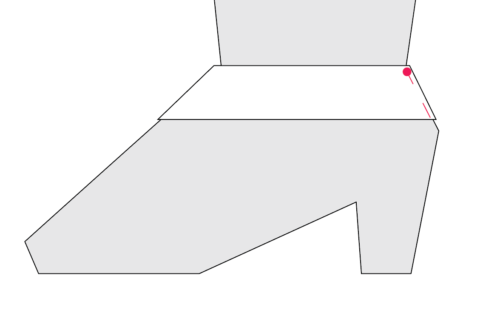
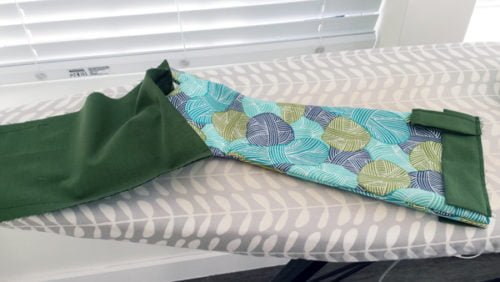
8. Outer Boot: With boot pieces right sides together, ( be sure cuff and tab are free from seam) Use a 1/2 ” seam allowance to sew together, but at the bottom of the heel & tip of toe switch to a 1/4 ” seam to lengthen them. Leave top open. Clip curves and into corners. Turn right side out and press.
9. Boot Lining: Pin boot lining pieces right sides together. Mark a 6 ” opening along the calf seam (this will be left open for turning ) Sew along sides, leaving the 6″ area open and the top of the boot open. Clip curves and corners.
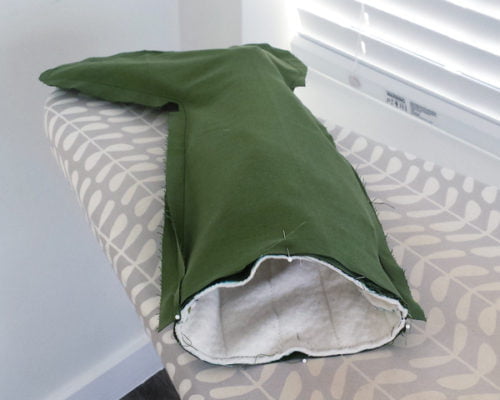
10. Without turning the lining (still wrong side out) slide it over the outside of the boot. Line up the seam at the top of the boot, matching the side seams. With a 1/4 ” seam allowance sew all the way around the top of the boot, through all layers.
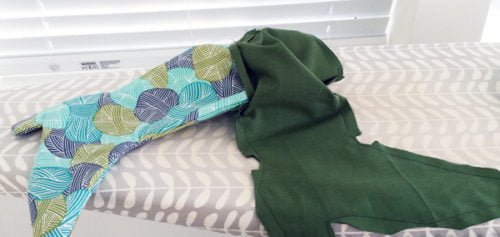
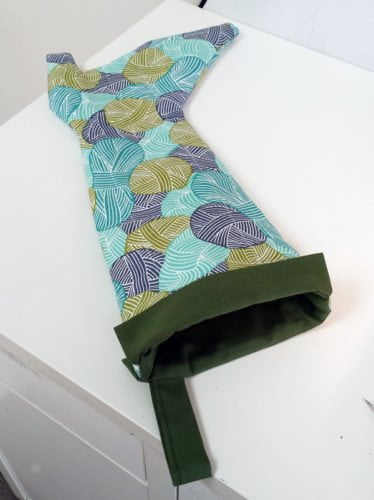
11. Pull outer boot through the 6″ opening of the lining. Pull the lining to the right side and press the lining flat. Top stitch close to the edge of the 6″ opening to close it. Push lining inside of boot and press.
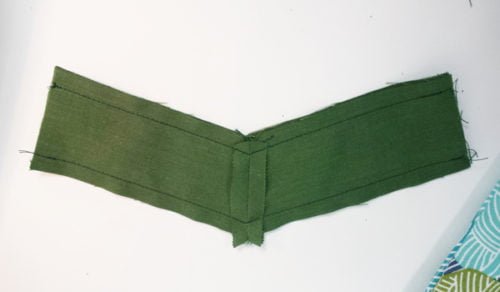
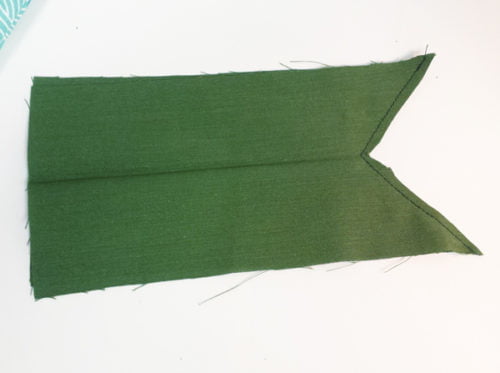
12. Harness Arch Piece: With right sides together, sew with 1/4 ” seam across point of arch piece, repeat on other set.
13. Open both pieces and press seam flat. Match the two sets right sides together and stitch along the long edges (leaving the short edges unfinished). Turn right side out and press.
14. Harness Ankle Piece: Open fold of both pieces and lay right sides together. Sew with 1/4 ” seam along the V. Trim seam and clip the center of the V. Press seam flat. Fold right sides together and sew 1/4″ seam along the long unfinished edges. Turn inside out and press.
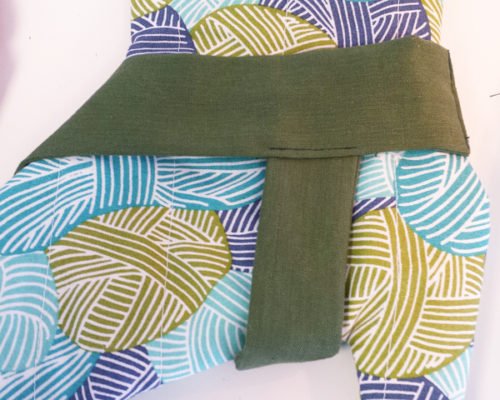
15. Constructing the Harness: You will want to “fit” the harness before final assembly.
a. Wrap
Harness Ankle Piece around the boot ankle. On the front side of the raw edged opening, tuck under the raw edge into the tube of the harness. On the back side of the raw edged opening, slip the raw edge into the front side tube. You may want to trim some of the excess fabric. When it fits nice and lays smooth, pin well in place. (You will remove the harness to sew, so do not pin it to the boot itself)
b. Wrap
Harness Arch Piece under the arch and lay over the
Harness Ankle Piece, pinning in place for marking (on both sides). Using erasable fabric marker/chalk, mark points A, B, and C.
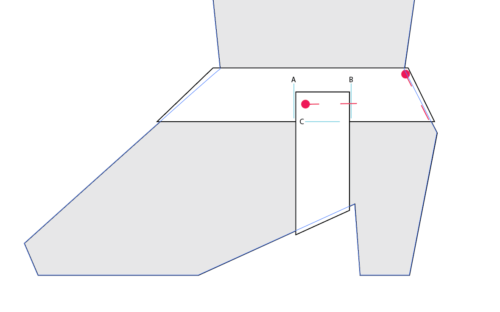
c. Unpin the Harness Arch Piece and then slip the Harness Ankle Piece off the boot without removing pin.
d. Topstitch the Harness Ankle Piece to secure the back and front.
e. Using a seam ripper, pick open the stitches between the two A and B marks you made (on both sides).

f. Slip the
Harness Arch Piece into the slots you created and slide in up to mark C. Pin in place (on both sides). Topstitch the arch to
Harness Ankle Piece.
16. Slip Harness back onto the boot and sew a large button onto the ankle through
all layers on the front side of the boot👢😊


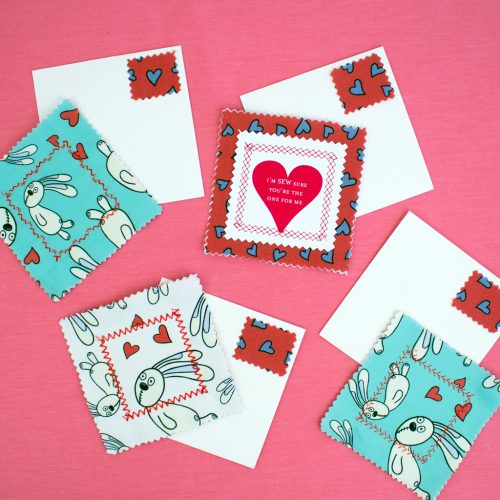
 This is a simple idea that’s full of possibilities. They could be made for any holiday or occasion. What’s really wonderful though is that it’s perfect for scraps and your little sewists. The directions are vague which is nice because it leaves room for interpretation. We had 4″ envelopes so we worked backwards from there.
 Mo Willems’
 3. Using any stitch you like and sewing with the paper facing up, stitch around the edge of the paper. Trim loose ends.